With induction gauges, infrared sensors, ejection test, lasers, probes and camera inspections, our production inspection systems enable us inspect all of our manufactured products with the automatic disposal of any faulty part detected. Furthermore, some of our machines perform automatic checks by continuous statistical analysis based on the calculation of the mean to the nominal dimensions requested, and readjust themselves to continuously improve process CPK. In order to further speed up its delivery times, improve its quality performance and reduce production costs, Filame has also set up the QRM software at the company’s plant in Nivelles.
Of course, our inspection means installed in the metrology room are just as impressive.
Three-dimensional test bed, profile projectors, simple or camera microscopes, micrometres and digital comparators for inspecting dimensional parameters.
Our compression, expansion and torsion test beds can perform up to 16 tests in a single operation and produce comprehensive test reports (CP, CPK, mini, maxi expansions, Gauss curve, etc.).
Our entire organisation, managed by a high-performance computer network (CAPM, EDI, CAD, CAD/CAM, etc.), provides full and immediate traceability.
Quality reports
Thanks to its experience with major contractors in the automotive industry and in civil engineering, Filame is able to provide all types of reports (PPAP, 3D, ..) to its clients.
Certifications
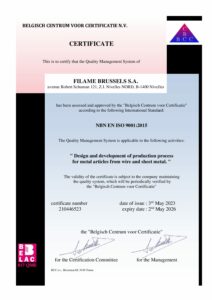
Filame Brussels is ISO 9001 certified and Caterpillar MQ11005 Bronze Certified Supplier and works via SPC. You can download our ISO certificate here.


